










Function canceled
Function canceled


 Lyngsat
Kingofsat
Dishpointer
DVBSkystar.com
satbeams.com
CS Sat fórrum
Parabola
DVB-Upload
DVB N Forum
dvhk.pl
sat-television
Sat Centrum
SkyStar.org
TV Freak
Technisat
techneteuweb
Jak psat web
Jak na web
Zive.cz
Interval
O webu
Webguru
Builder.cz
Linuxsoft.cz
Tutorials.cz
web.net-mag.cz
Kosek.cz
webtvorba.cz
CSS Creator
samples.cz
programujte.com
builder.cz
časopis.programátor
učebnica c++
Odkiaľ je IP
Uč sa Anglicky
Speedtest
Otestujte sa
Lyngsat
Kingofsat
Dishpointer
DVBSkystar.com
satbeams.com
CS Sat fórrum
Parabola
DVB-Upload
DVB N Forum
dvhk.pl
sat-television
Sat Centrum
SkyStar.org
TV Freak
Technisat
techneteuweb
Jak psat web
Jak na web
Zive.cz
Interval
O webu
Webguru
Builder.cz
Linuxsoft.cz
Tutorials.cz
web.net-mag.cz
Kosek.cz
webtvorba.cz
CSS Creator
samples.cz
programujte.com
builder.cz
časopis.programátor
učebnica c++
Odkiaľ je IP
Uč sa Anglicky
Speedtest
Otestujte sa

Phoenix SmartMouse
People who have been involved in satellite technology for some time certainly know what this device is. In this article I will briefly describe what the Phoenix actually is, what it is used for, and how to build it at home for just a few crowns (or a few dozen crowns).

For those who own a Sky Star 2 PCI card, the Phoenix will serve as a card reader (SkyLink, CzechLink, and other cards),
of course with the required plugins. This device can also be used for reading and cloning telephone SIM cards, but this article
will not cover that. Our priority will be reading access cards. Older cards, which are probably no longer used today, could also be
programmed with this device. Since I have had my Phoenix for about 2 weeks, I do not have experience with card programming.
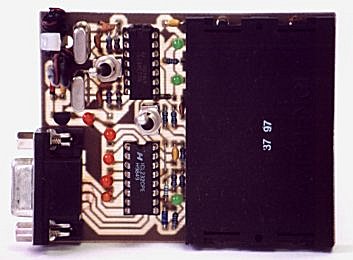
The image shows a finished Phoenix (not mine — I modified mine a bit; a photo of my Phoenix already built into the PC is below).

So what do we need to build a Phoenix at home? I already had many parts at home, so the entire Phoenix cost me no more than 200 Sk.
Anyone who tinkers a bit should have a copper‑coated board (cuprexit) at home, used for making printed circuit boards (if not, you need to buy one).
Next, you need to buy the components — I won’t list them here; at the end there is a link to download the entire package containing
the component list, schematic, PCB layout, and photos of the finished Phoenix.
(I will at least include a visual list of components — I bought a few parts later, so the image does not show the complete list.)

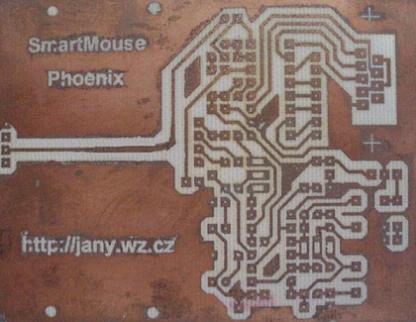
The PCB can be made using several technologies: photo‑transfer, toner‑transfer (ironing), or hand‑drawing. Since I tried the photo method and many traces were under‑etched, I decided to use toner‑transfer. The process is not complicated.
- Print the PCB layout on glossy photo paper using a laser printer and cut it out.
- Place the printed side onto the PCB and tape the edges so it does not move.
- Cover the PCB with a damp cloth and place an iron on it for about 60–120 seconds, gently moving it to prevent sticking.
- Place the PCB in water so the paper softens and peels off, leaving only the toner on the copper.
Even this PCB did not turn out as expected (and of course I forgot to mirror it), so I switched to hand‑drawing. If anyone is interested, a very detailed guide for toner‑transfer PCB production is available at Zubak
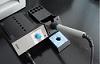

I wrote quite a lot, so here is a summary of everything we will need:
1. PCB board
2. Tin snips or a metal saw
3. Technical benzine
4. Very fine sandpaper
4. Center punch
5. Pencil
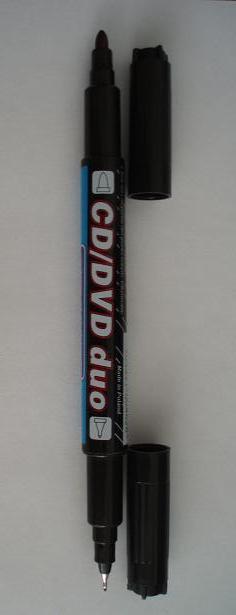
6. Marker
7. Etching acid
8. Drill bit 0.7–0.8 mm
9. Micro‑drill (I used a 12V hand drill)
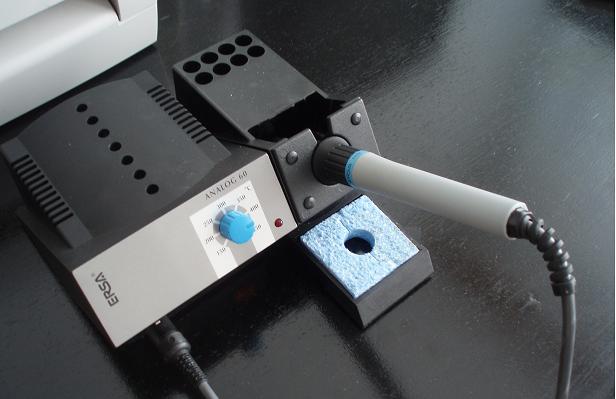
10. Soldering iron (a basic one is enough)
11. Small vise
12. Electronic tweezers
13. Solder + flux
14. Pliers
15. Multimeter
16. Printer
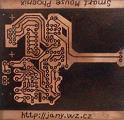
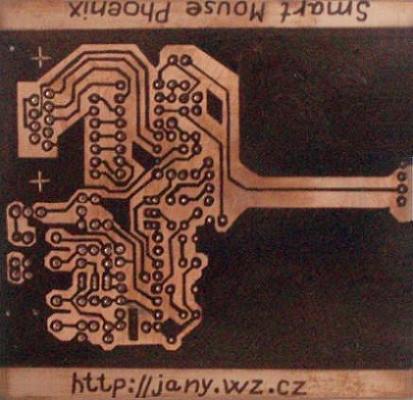
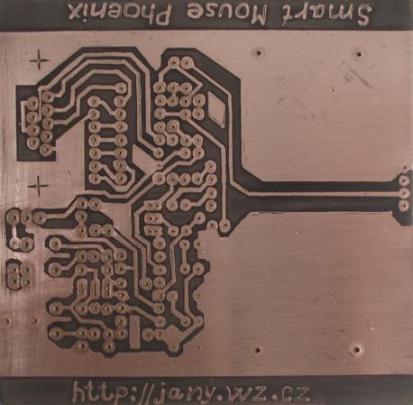
Take the PCB and cut it precisely to size using tin snips — the more precise, the better (if unsure, cut slightly outside the line and file it down). If the PCB is old and uneven, sand it lightly with fine sandpaper, wipe it with a dry cloth, and clean it with benzine or thinner. Print the PCB layout (note: the original must be 64 × 82 mm and must be mirrored). Place the printed layout on the copper side so you can see the traces, and tape it down. Use a center punch to mark all drill holes. Then use a pencil to mark the trace lines, and finally draw them with a marker. The drawn PCB looks like this (see image).
Check everything again and make sure no trace is missing. Prepare a plastic container large enough for the PCB to lie flat. Pour in the etching acid and gently place the PCB in it (drawn side down). Etching took about 35 minutes for me, but with fresh acid it may be faster. Check it every 5–10 minutes. If left too long, it will under‑etch and be ruined.
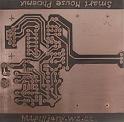
When the PCB is etched, wipe it dry and check for remaining copper where it should not be. If needed, redraw and re‑etch. Remove the marker (alcohol worked well for me). Drill all holes with a 0.7–0.8 mm drill bit. I hope I don’t need to explain how to solder components — just be careful to place each component correctly. To avoid reading resistor color codes, use a multimeter to measure resistance and capacitor values.
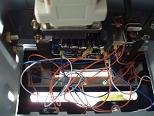
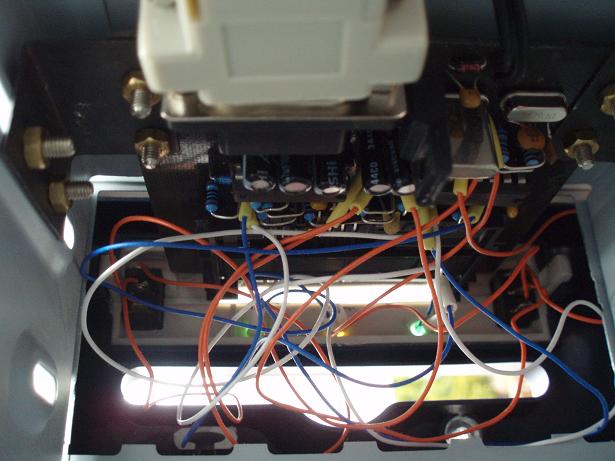
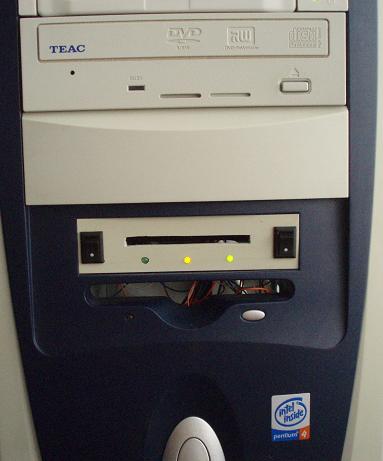
If all components are soldered correctly, the device is finished and functional. I modified my Phoenix — I bought different panel switches and connected them with thin wires (8–10 cm) from the PCB, along with LEDs. Phoenix should be powered with approximately 9–24 V DC; I used the PC power supply. Phoenix must also be connected to the computer using an RS232 serial cable. The cable must be straight‑through, meaning pin 1 to pin 1, 2 to 2, 3 to 3, etc. I mounted two brackets on the Phoenix so I could attach it inside the PC, which is why the PCB is about 1 cm wider on the sides. The photo is not great — the Phoenix is already installed.
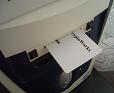

I removed the FDD drive because I don’t use it, but theoretically it could have stayed. Now that everything is assembled and connected, we can insert a card into the Phoenix for decoding, and with the appropriate software it should work — of course everything must be configured. I personally tested SkyLink and CzechLink cards. First download the software called CWReader2k, set the port to COM1 (if that is the PC setting), and click read card. After a moment, the program should display card information; if not, something is wrong with the Phoenix and you must check everything again (I checked 4 times and found 4 mistakes on the PCB). CWReader2k is used only for cards that decode Cryptoworks.
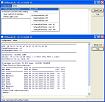

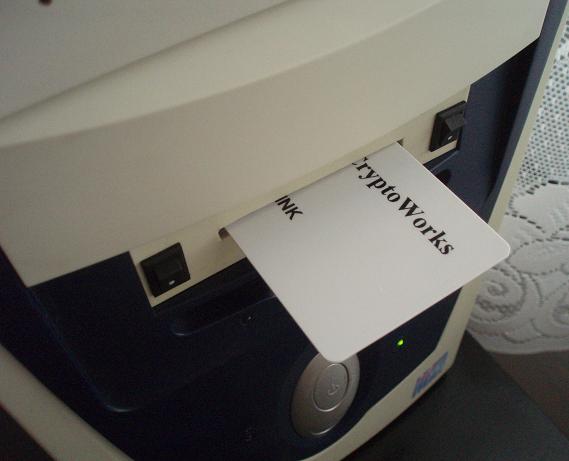
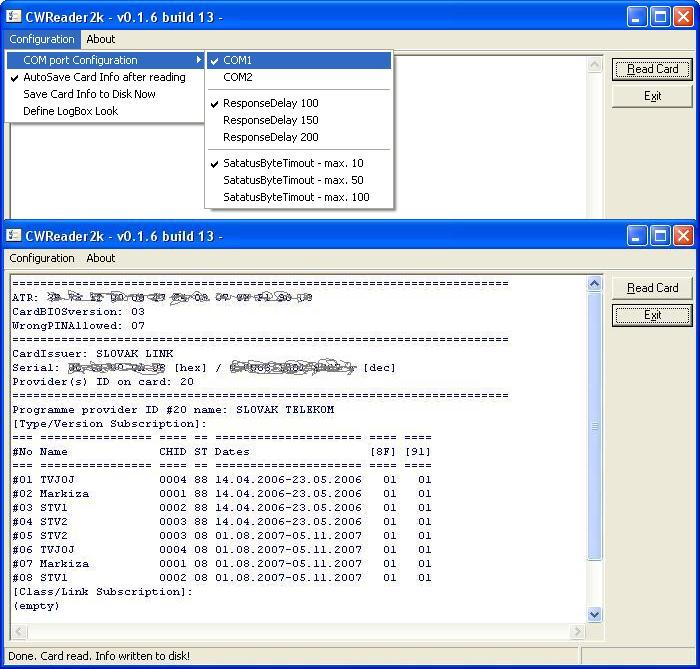
When CWReader2k reads the card info (see image), the Phoenix should be working correctly. With Phoenix you can use various plugins for card reading. The most well‑known is probably CWCamEmu, but NEWCS as a server and WINCSC as a client is also very commonly used. This method can also be used for card sharing over a network. I have tested both methods and they work reliably.
Download: CWReader2k NEWCS-WINCSC by BLUENATA CWCamEmu phoenix_pack